Mk IIb: the thinner version
Joachim Köppen Kiel/Strasbourg/Illkirch Spring 2007
This version is shown here schematically: Light falls through the slit in one end of the box onto the inclined CDROM (in green) at the other end and the reflected spectrum is observed through a small aperture:
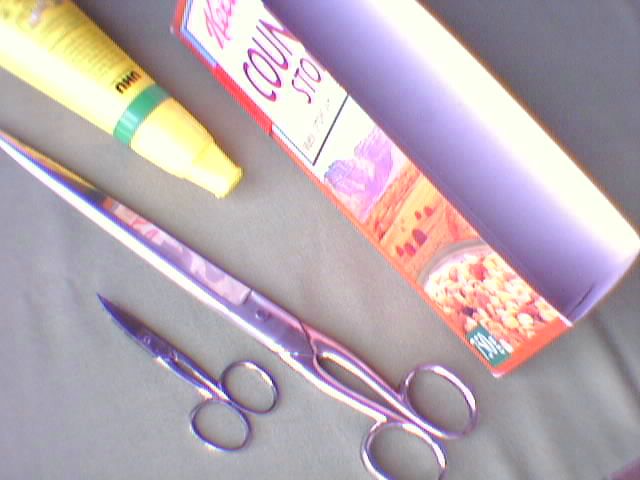
All we need is this:
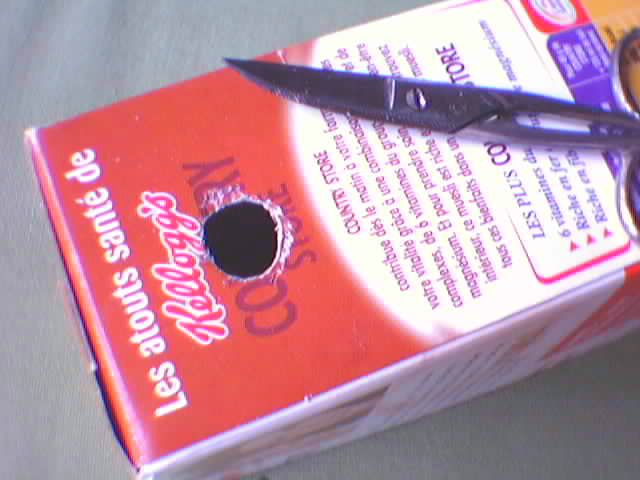
First, we decide in which corner we shall place the CDROM. There we cut a small hole in the bottom side of the box, about 2 cm from the end:
Then, we cut the box from its open end at the four corners, as shown in red lines in the sketch below. Make that cut about half of the height of the box.
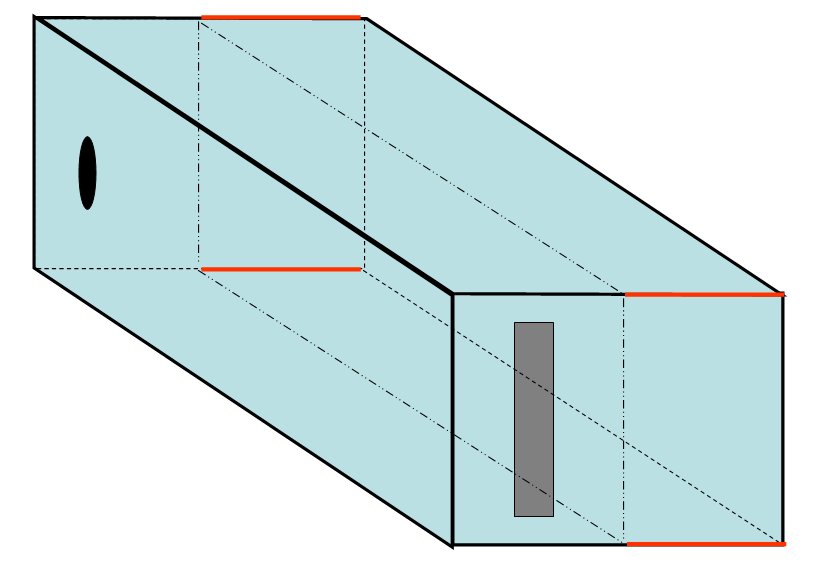
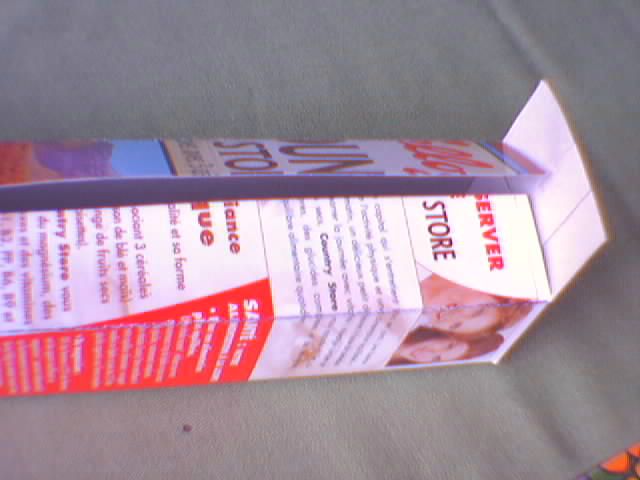
Now bend over the four sides, so that they completely close the box, as shown in the right hand picture ... I had inscribed with a ruler and a ball point pen the lines along which I was going to bend the cardboard; this makes bending easier and produces a neater box, but one can also simply bend and shape the cardboard with your hand! When the spectroscope is eventually finished, you can apply adhesive tape or use paperclips to close the box.
After that, you cut a rectangular opening (shown in grey in the sketch above) at the side where the slit should be. Make it roughly in the centre of the box's wall, so that you shall have no problems when the end is bent. This opening will be larger than the slit itself, so that we can also observe faint sources.
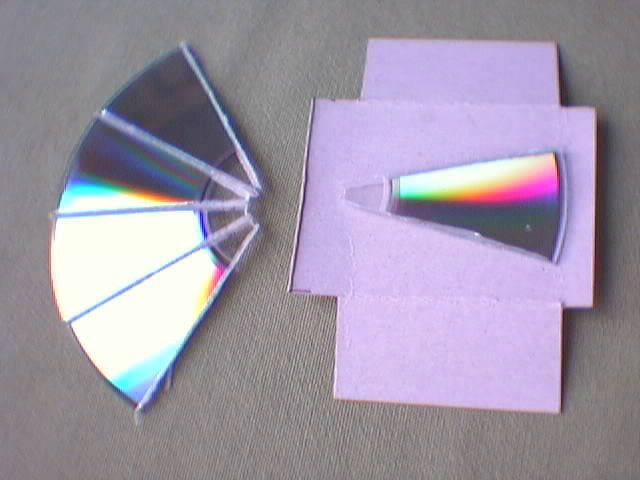
Now we can fabricate the CDROM holder, and put the CDROM on it. In this version, I
left some cardboard to make flaps with which I could apply the glue on the front
surface of the CDROM. This required some time for the glue to dry, during which
the flaps were helt down by clamps - laundry clips also work well! If you follow
this approach, it is better to start with the CDROM holder and construct the
box during drying time.
But you can also fix the CDROM by applying adhesive tape to its front and wrap it
around the back of the holder.
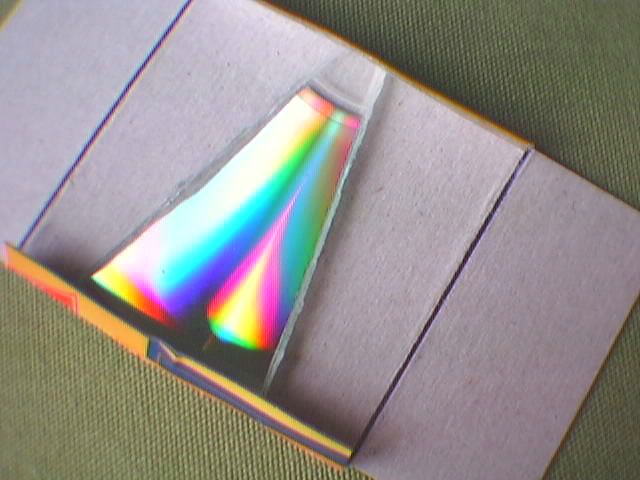
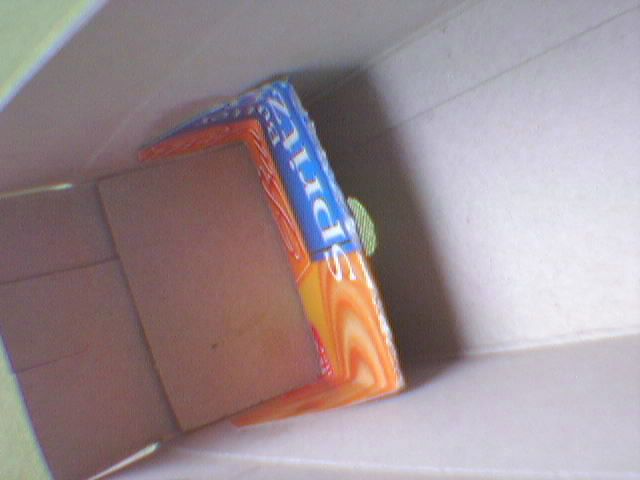
Now we are ready for the trickiest part: when the CDROM is ready on its holder, place in inside the box, behind the observation hole. The picture below show you in what sense the CDROM should be put ...

... Point the spectroscope with its large slit opening towards a light source - bright and preferably at large distance, such as a street lamp, or the lamp in the other corner of your room. Observe through the observation hole, while orienting the CDROM at different angle ... if you are lost, always try to catch the white image of the direct reflection. Then you change the angle of the CDROM with respect to the box, until you get the colours of the first order spectrum. When you found the orientation that you like best - for instance when you can observe both first and second orders, apply glue to the flaps of the holder and fix it inside the box. If you use normal paper or hobbyist's glue, you will have always time to make fine adjustments before the glue gets dry.
The next step is the making of the slit: For a simple approach, one can take some cardboard, make a straight, clean cut across it, and then glue the two pieces in front of the slit opening. I recommend 1 mm to see the spectrum of the daylight sky and most other sources, but brighter sources and for a higher spectral resolution, the slit should be finer.
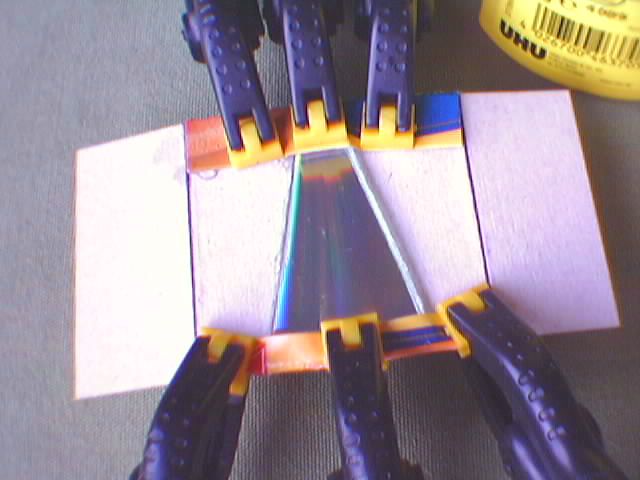
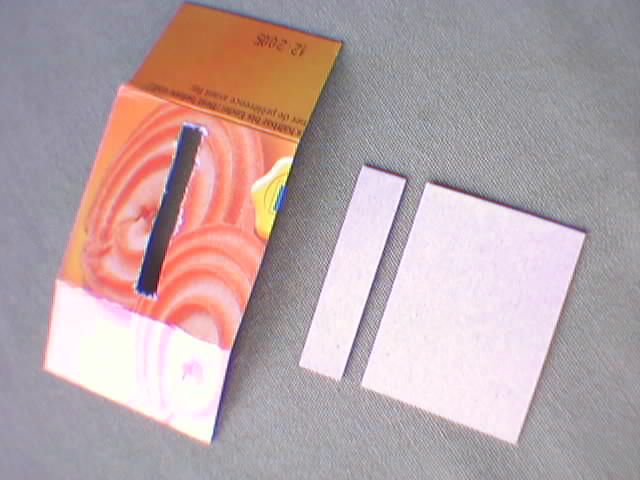
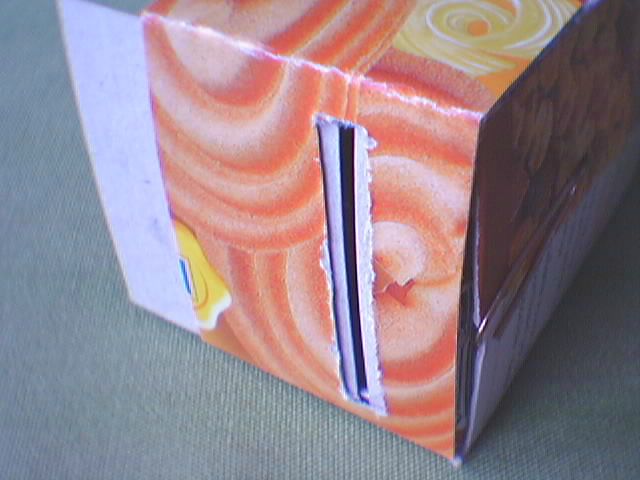
But to make a variable slit is not too complicated: We need a strip of cardboard that is slightly narrower than the width of the box, and which we cut in a straight way to make the two jaws of the slit. Another, larger piece is placed over the face of the box with the slit opening, and receives an opening of the same size and shape, as seen in the lower left picture. Next, we glue the smaller jaw to the inside of that latter piece, the slit holder (centre). Then we glue the slit holder's flaps to the sides of the box, as evident from the right hand image. The longer slit jaw slides into the narrow space between slit holder and box.

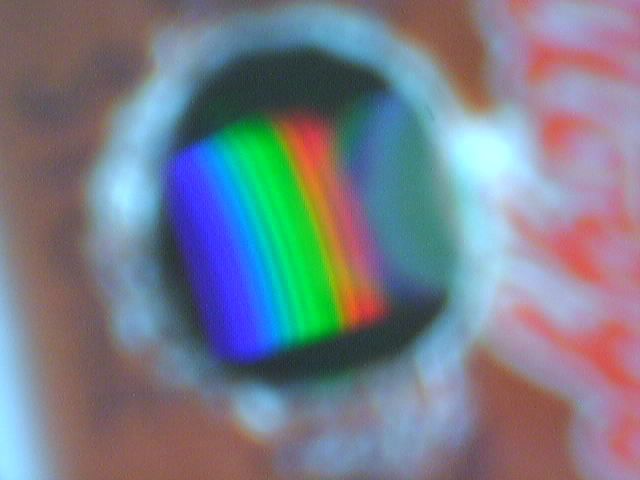
This is the fruit of your labours: the spectrum of daylight - but please note that the dark bands are not spectral lines, but fringes from the webcam ...